
How to use Moodboard
Collect reference images, notes, colours and links in columns your team can browse.
Moodboards are reference boards for a project's look, tone and texture — a place to collect the images, colours, and notes a department needs to see, organized into columns.
Getting there
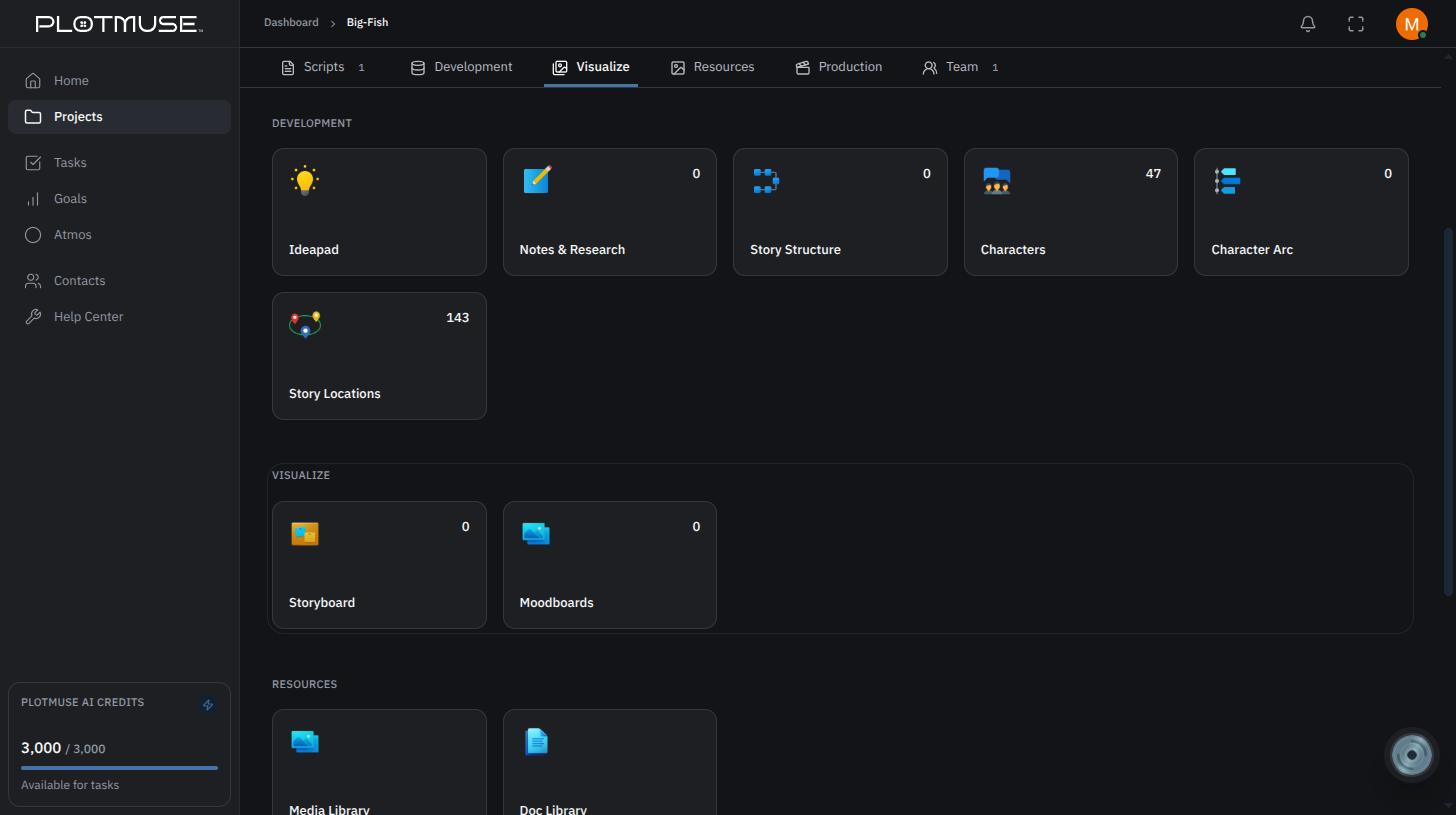
Open a project's Project Home page, go to the Visualize tab, and choose the Moodboards tile.
Creating a board
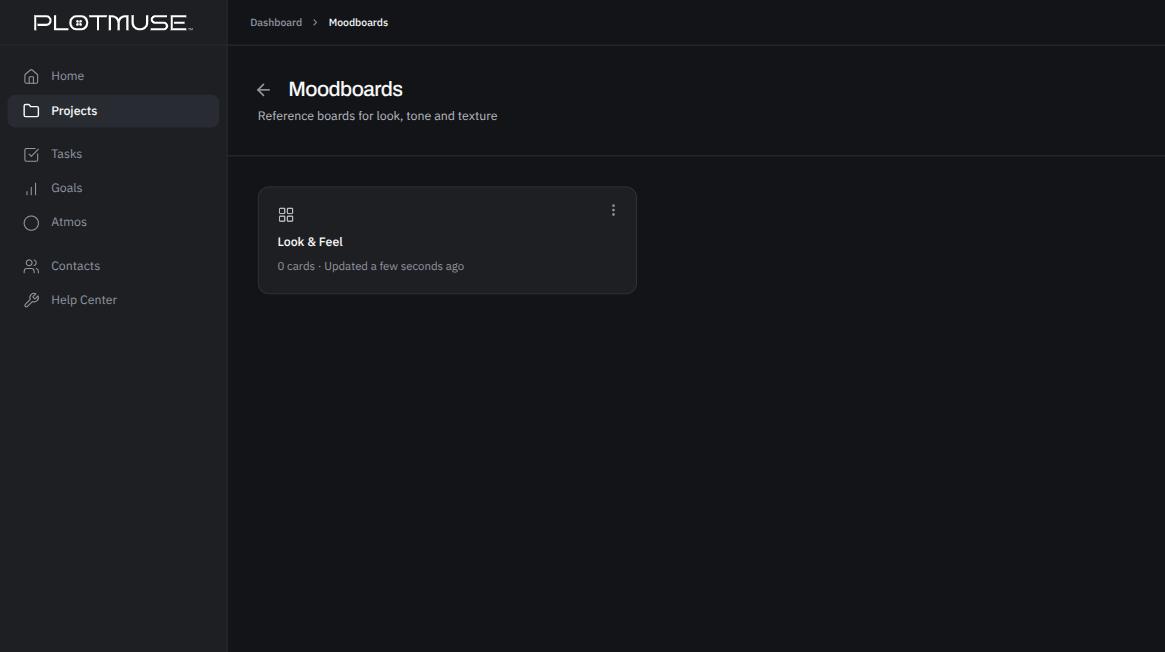
On the Moodboards hub, click New Board. In the New moodboard dialog, give it a Name (e.g. "Look & Feel") and an optional Description, then click Create.
Adding columns
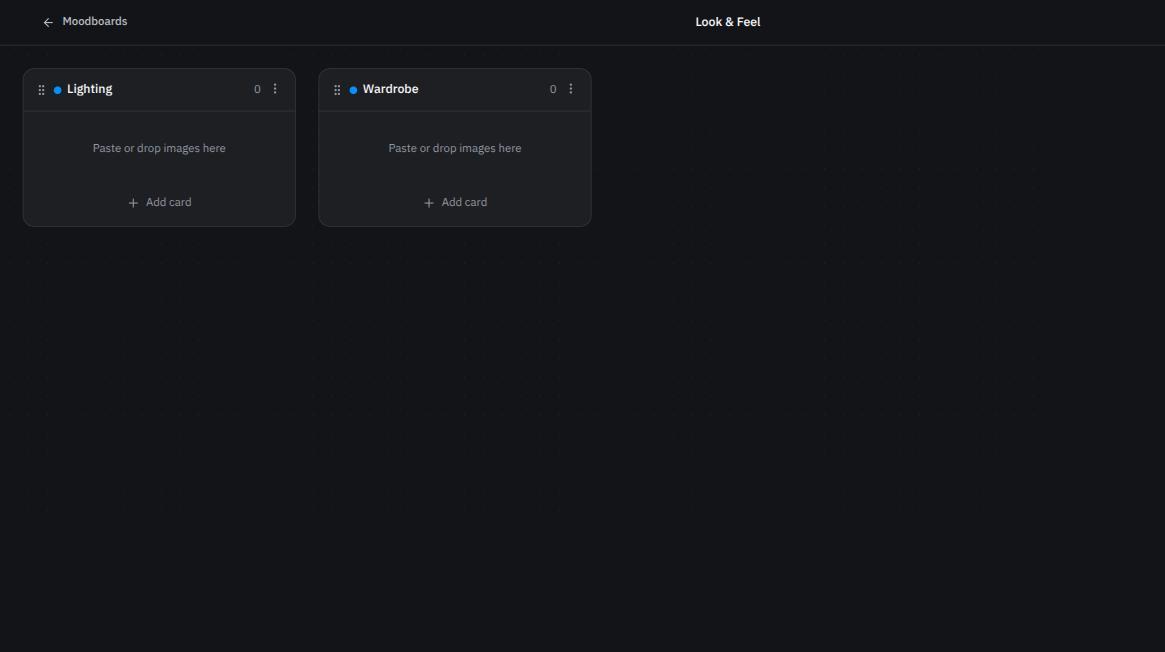
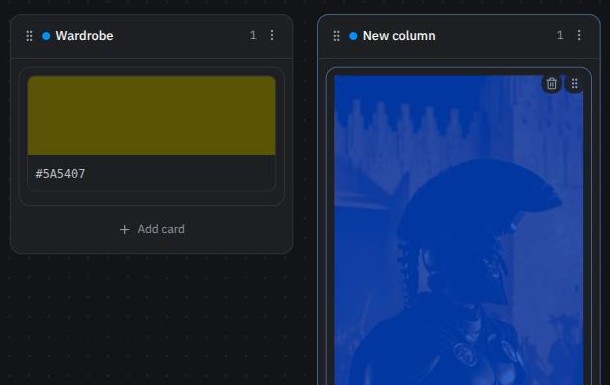
Inside a board, click Add column to create a new section — for example, one column each for lighting, wardrobe, and locations. Each column's title is editable inline, and its ⋮ menu lets you pick a colour or delete the column.
Adding cards
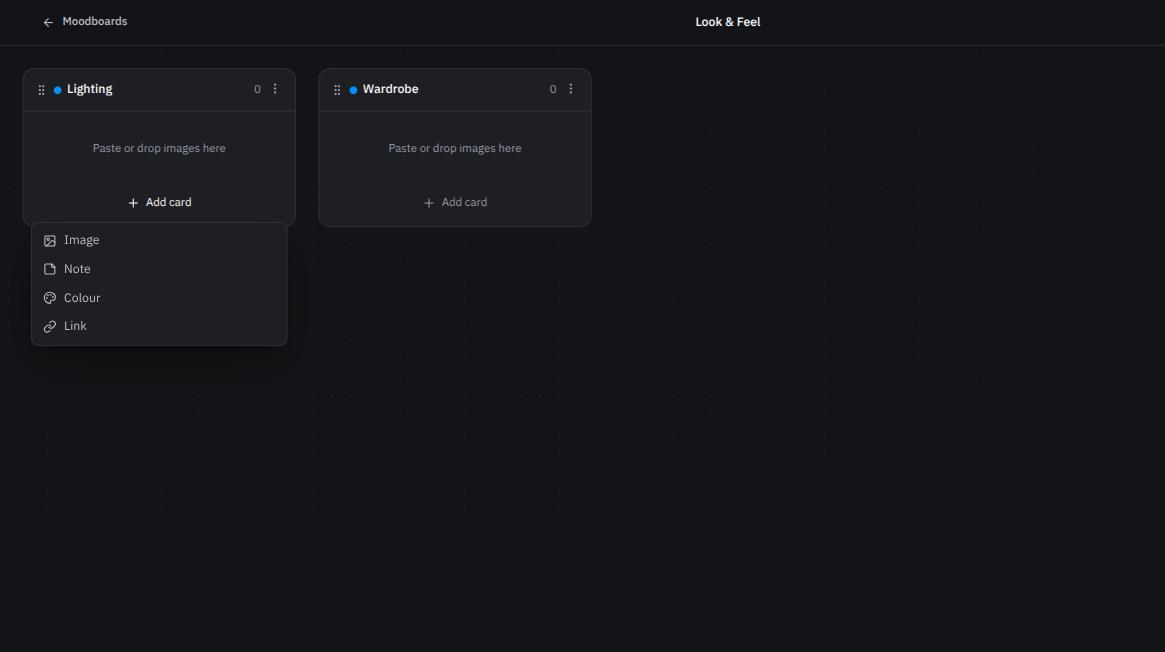
Click Add card at the bottom of a column to choose a card type:
- Image — upload one or more images
- Note — a text card
- Colour — a colour swatch card
- Link — a saved URL
You can also skip the menu entirely: drag image files in from your desktop, or paste a copied image straight onto a column, and Plotmuse creates an image card automatically. Pasting a URL works too, but drops it in as a Link card rather than fetching the image it points to — use Add card → Image and upload the file directly if you want the picture itself on the board.
Organizing
Drag cards to reorder them within a column or move them to another column entirely.
What's next
That covers the core Plotmuse workflow — from Getting Started through writing, planning and visualizing your project. Inside any project, the Resources tab (Media Library and Doc Library) is worth exploring next for reference material that doesn't belong on a board or in the script itself.
Was this article helpful?