
How to use Storyboard
Lay out frames, generate or upload images, and export or present your storyboard.
Storyboards let you plan your project shot by shot, with AI-generated or uploaded frame images, ready to export or present.
Getting there
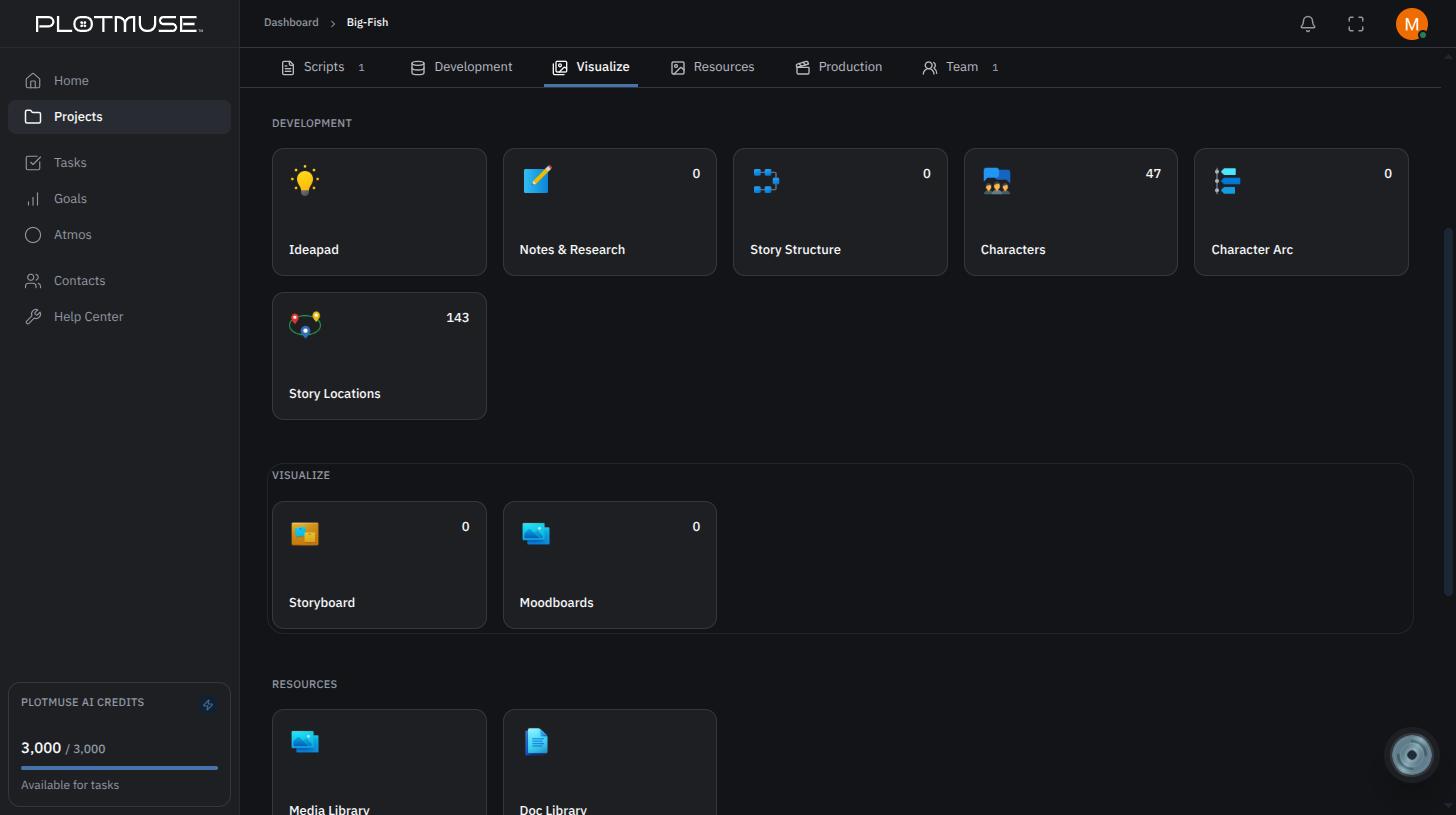
Open a project's Project Home page, go to the Visualize tab, and choose the Storyboard tile.
Creating a storyboard
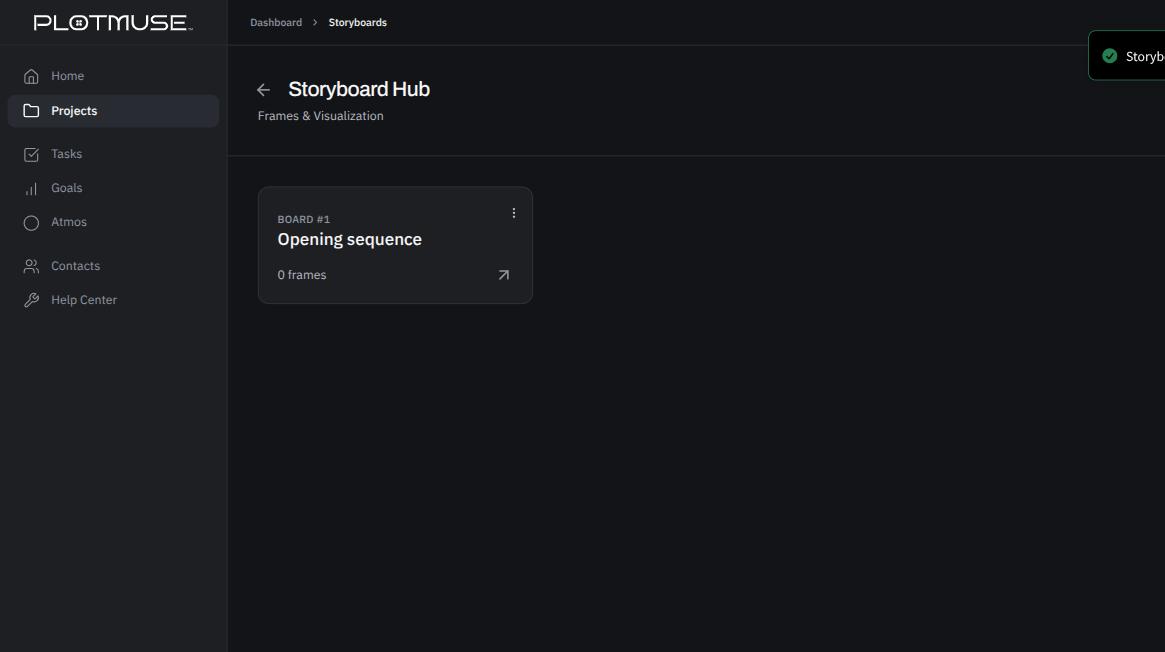
On the Storyboard Hub, click New Storyboard, give it a name (e.g. "Opening sequence...") in the Create New Storyboard dialog, and click Create. A project can have multiple storyboards — one per sequence, act, or however you like to split up your project.
Importing scenes from your script
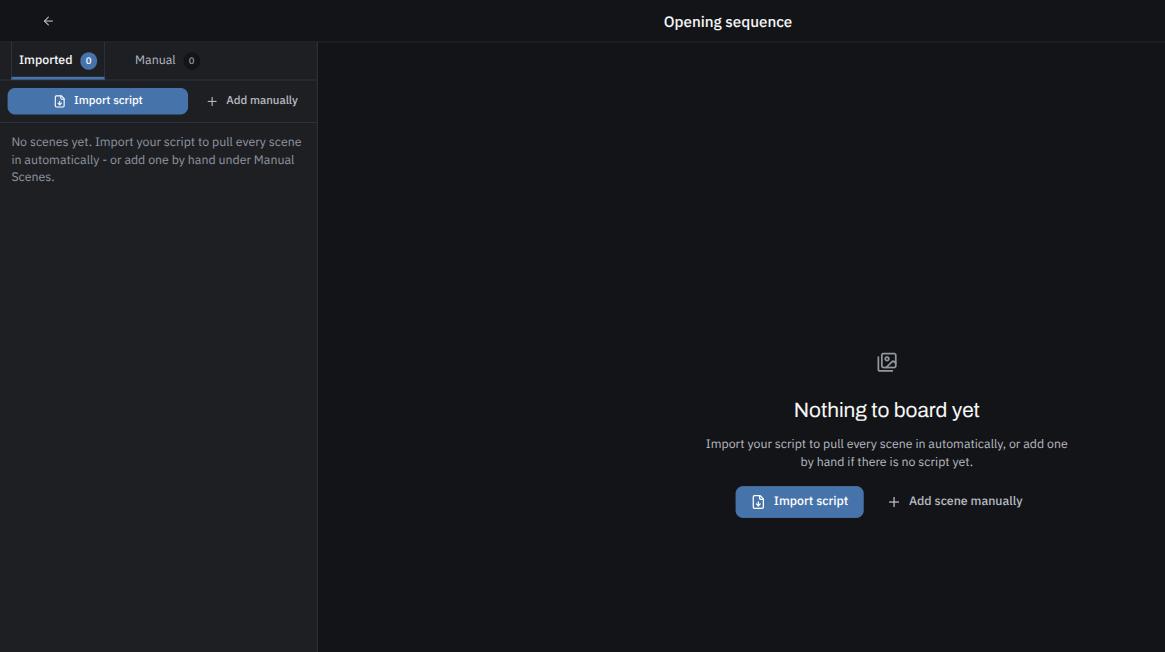
A new, empty storyboard offers two ways to fill it: Import script or Add scene manually. Import script reads your project's script and pulls in every scene automatically — scene number, INT/EXT, location, and time of day all come from the parsed slugline, so there's nothing to retype. If you've already added scenes by hand, importing matches them against your script by heading and content instead of duplicating them.
Adding scenes and frames
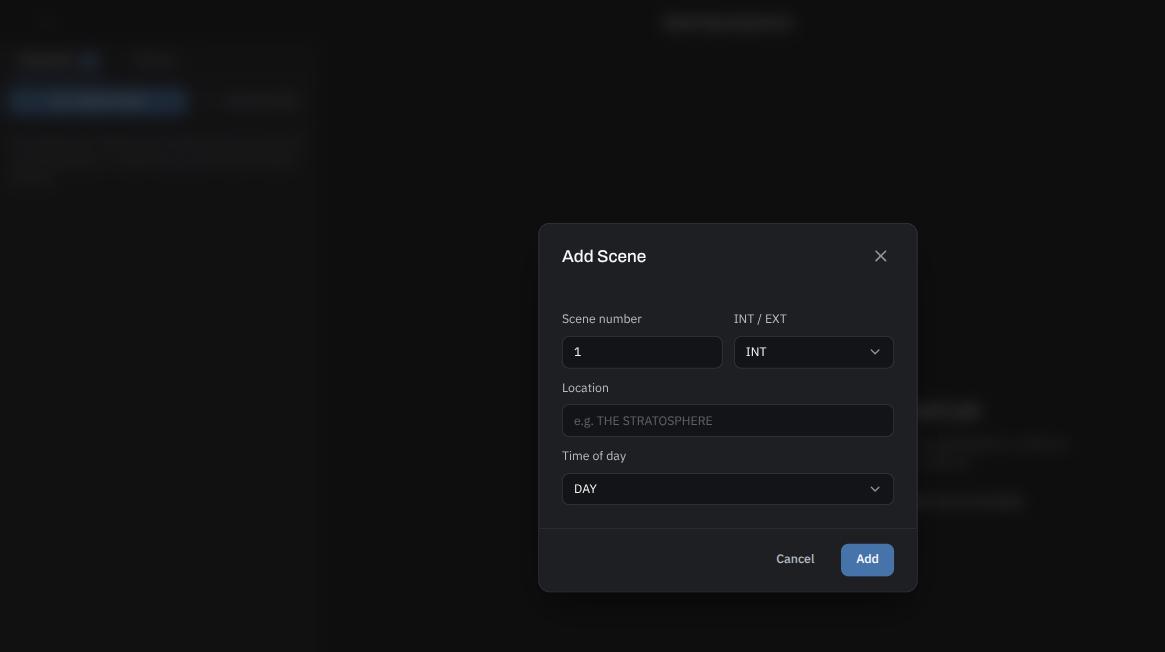
If you don't have a script yet, or want to add a scene the import didn't cover, click Add Scene to add a new scene section — set its scene number, INT/EXT, location, and time of day by hand.
Within a scene, click Add New to add frames — either one at a time or in a batch.
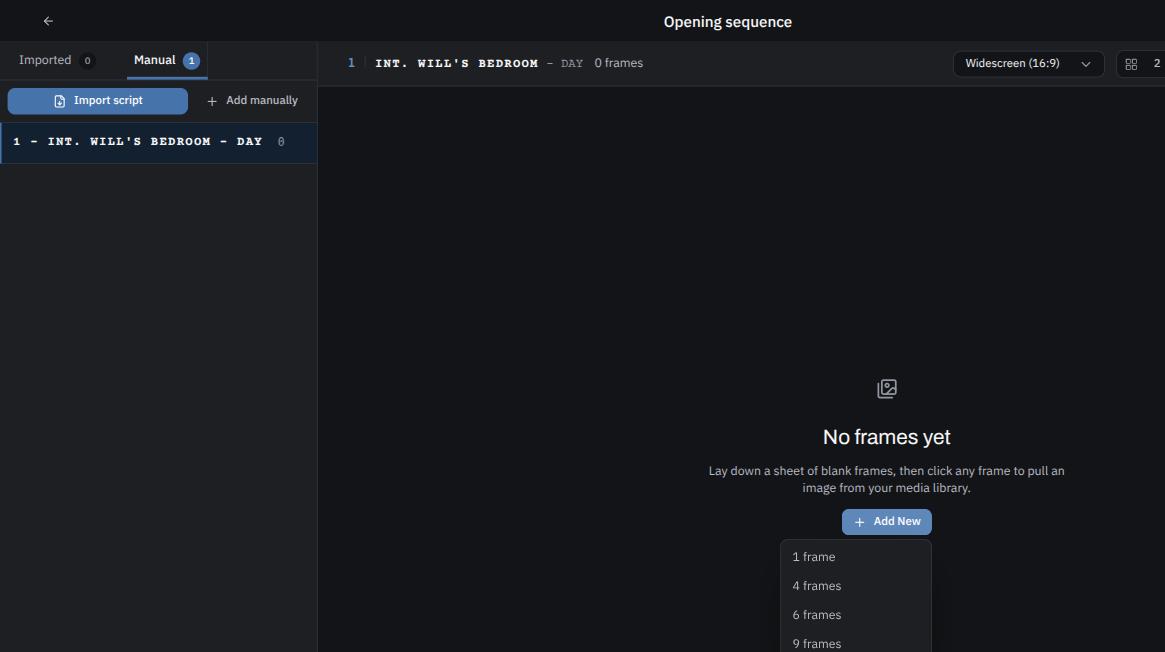
Filling in a frame
Each frame card lets you:
- Add image / Replace image — upload your own image
- Generate frame — have Plotmuse generate the frame's image with AI
- Edit Shot size, Description, Sound effects, and Camera movement
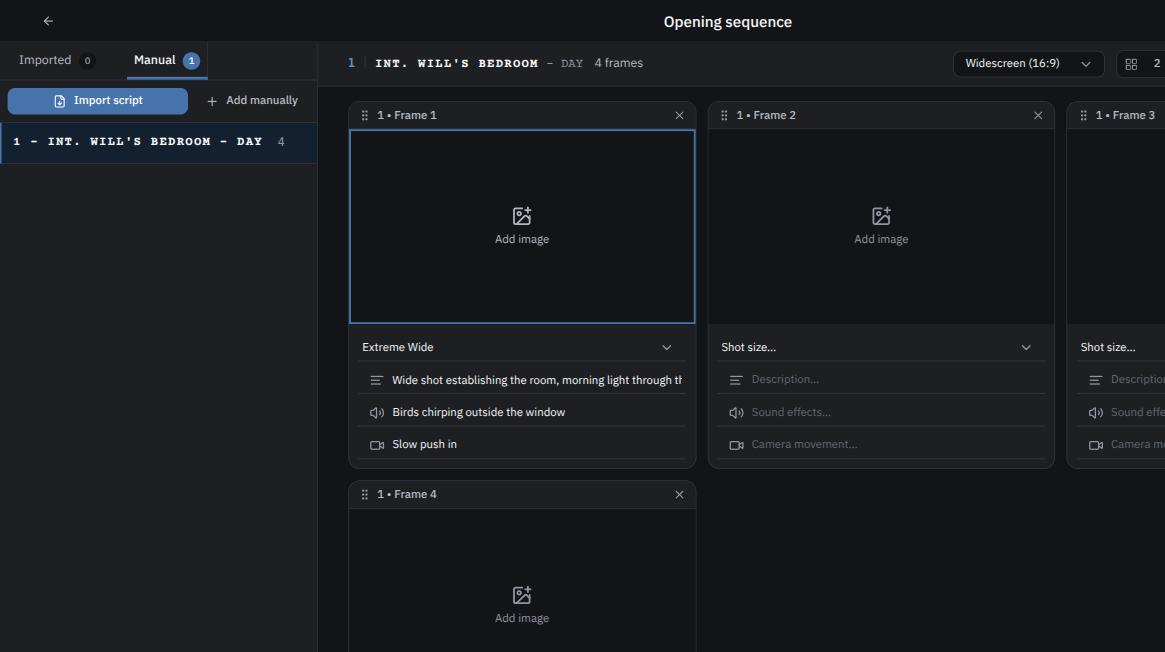
Click into a frame's image to open the built-in image editor for quick adjustments.
Presenting and exporting
Use the toolbar to switch frame aspect ratio and column count for how the board displays, then:
- Present — a full-screen presentation mode for reviewing the board with your team
- Export — download as PDF or PPTX
What's next
Collect visual references for tone and look — see How to use Moodboard.
Was this article helpful?