
Managing Characters and Locations
Build out your character and location repositories, and chat with a character in-app.
Every project has a Character Repository and a Location Repository for tracking the people and places in your story — independent of any one script draft.
Getting there
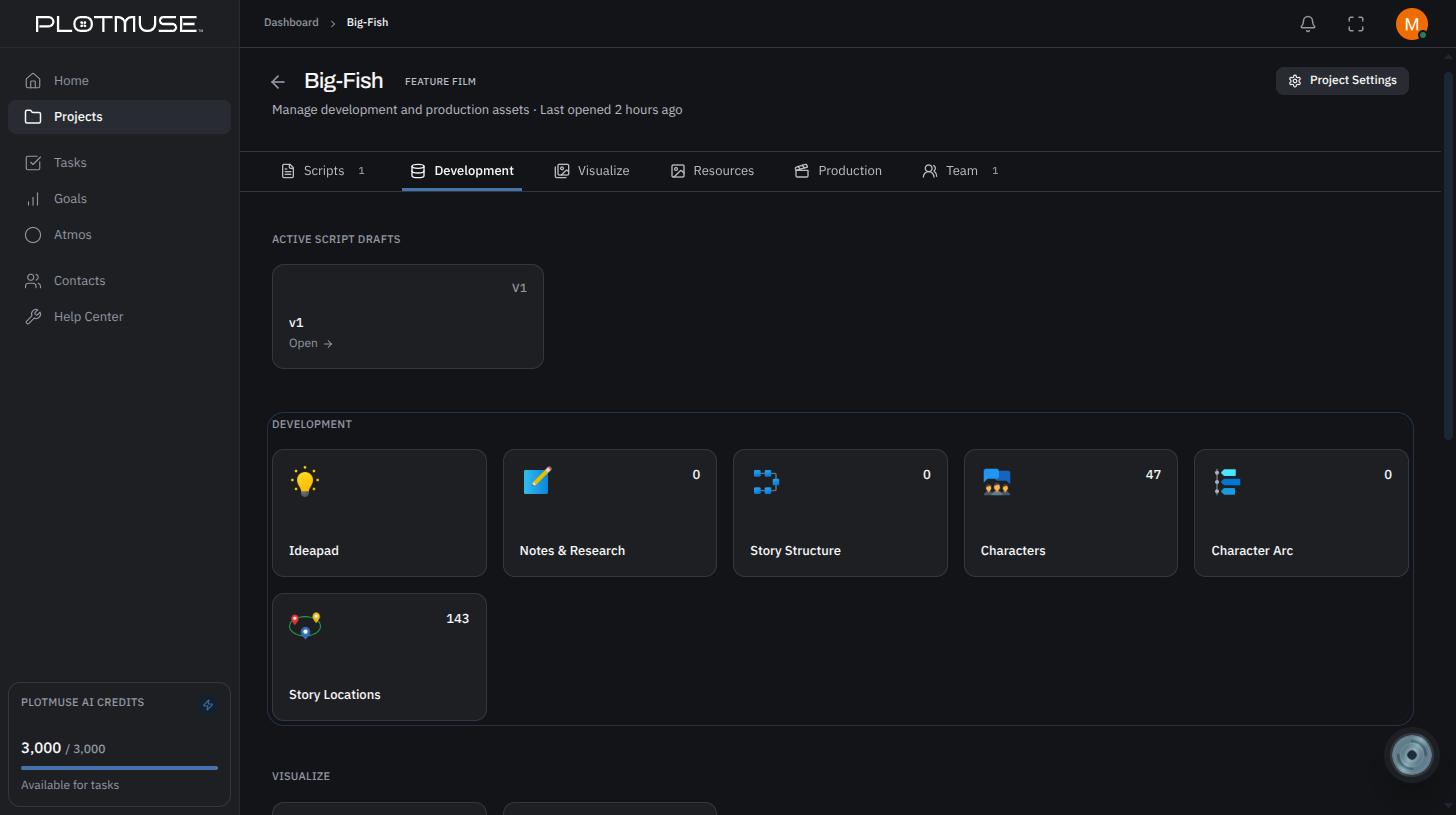
From a project's Project Home page, open the Development tab, then choose the Characters or Story Locations tile.
Adding a character
- On the Character Repository page, click Introduce Character (shown on the empty state) or the + button in the header.
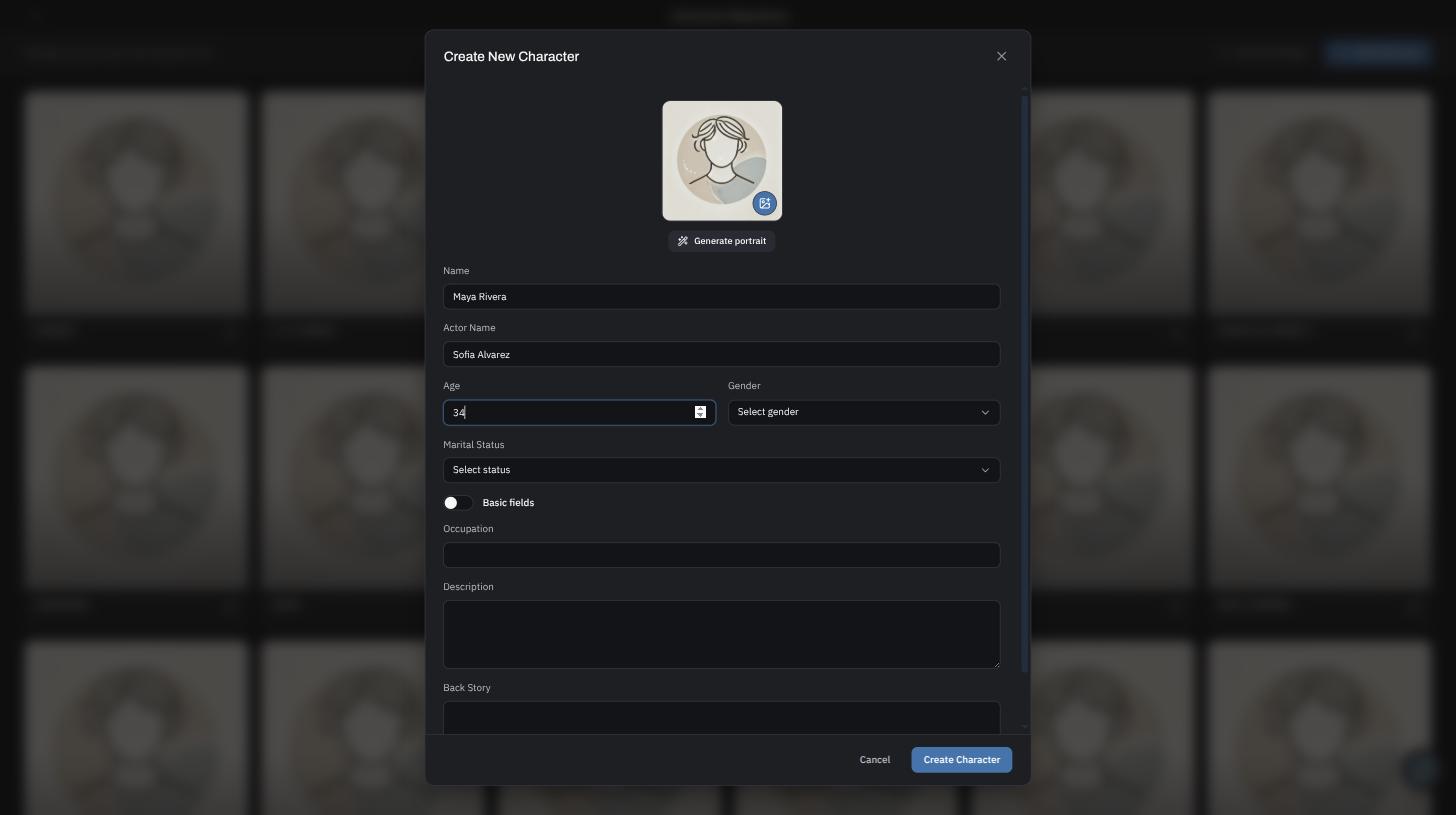
- In the Create New Character dialog, either Select image to upload a portrait or Generate portrait to have Plotmuse create one for you with AI.
- Fill in Name, Actor Name, Age, Gender, and Marital Status.
- Toggle Advanced fields to add depth — Occupation, Description, Back Story, and (in advanced mode) Origin, Archetype, Character Flaw, Life Ambition, Life Regret, and more.
- Click Create Character.
Chatting with a character
Open any character's card to see their detail view, then click Chat with {name} to roleplay a conversation with them — useful for finding their voice before you write their dialogue. You can create multiple chat sessions per character and switch between them.
![A character's detail view with the "Chat with [name]" button, and the chat panel open beside it.](/help-center/managing-characters-03-chat-with-character.jpg)
Adding a location
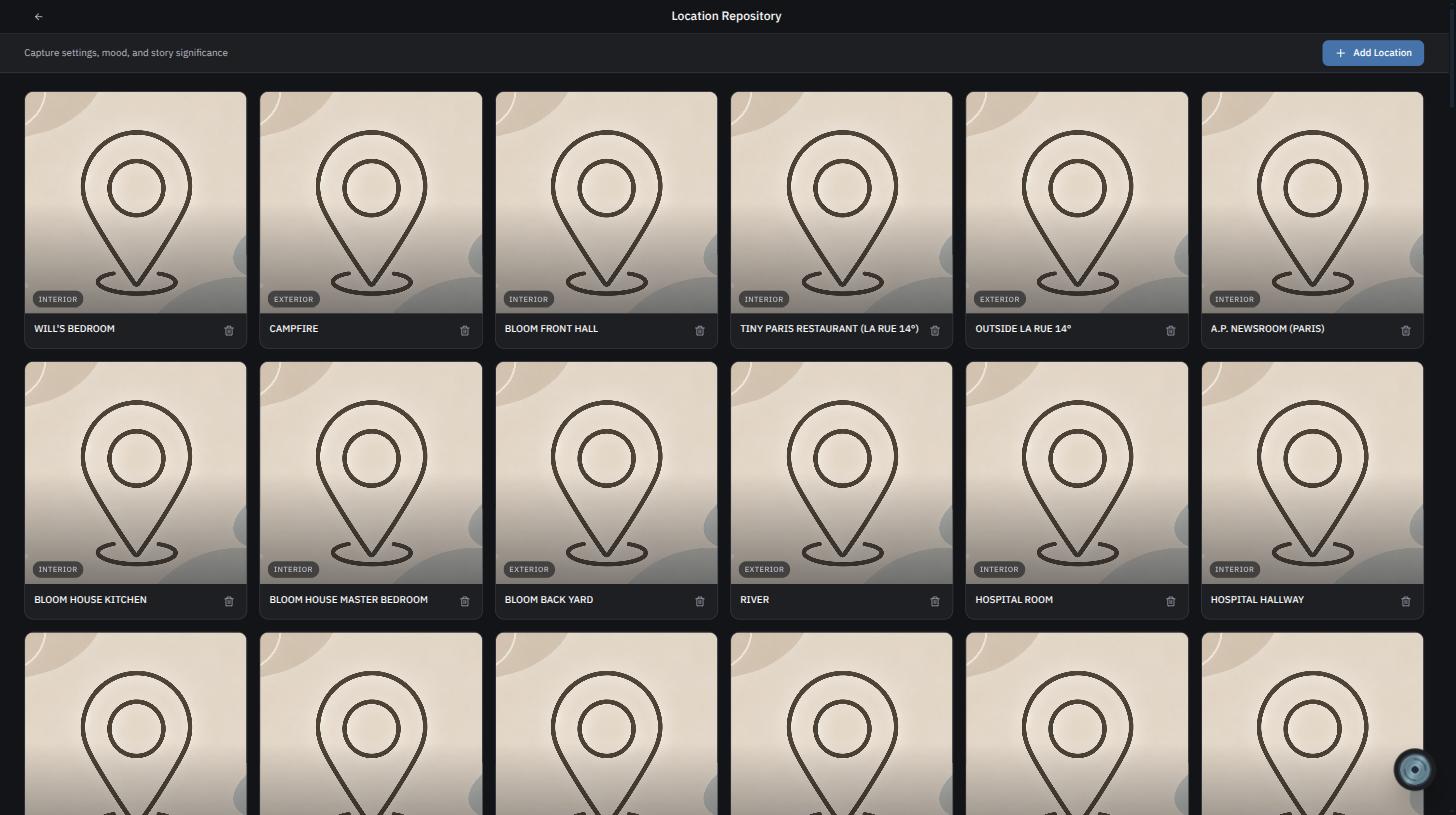
- On the Location Repository page, click Introduce Location (empty state) or Add Location in the header.
- Fill in the location's details, including its type — Interior, Exterior, or Int-Ext.
- Save to add it to your repository.
Filtering
Use the Not in Script filter on either repository to quickly find characters or locations you've created but haven't used in your script yet — a good way to catch loose threads before a draft is locked.
[Screenshot: The "Not in Script (n)" filter button on the Character Repository page.]
Merging duplicate characters
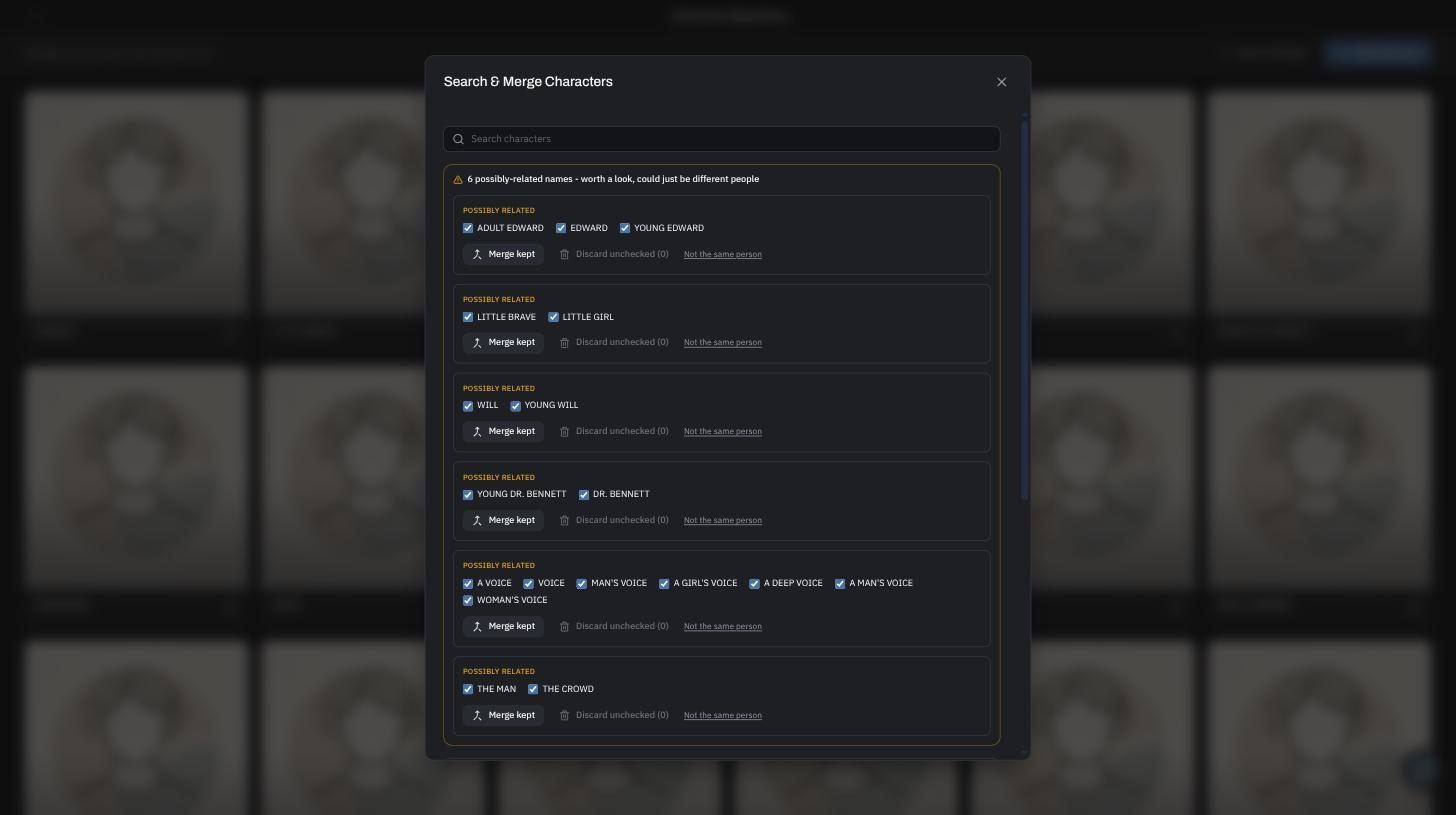
Importing a script pulls characters straight out of it, which can occasionally create a duplicate — say the same person shows up under two spellings of their name, or you'd already added them yourself before importing. Auto-detected and manually added characters live side by side in the same repository, so click Search & Merge on the Character Repository page to sort it out. Likely duplicates are already flagged for you there; you can also search for and merge any two characters by hand. Nothing merges automatically — every merge asks you to confirm first, so you never lose a character's notes by accident.
What's next
Once your characters exist, plot how each one changes over the story — see Using the Character Arc Tool.
Was this article helpful?